Customising the Toolbar - changing the icons displayed.
The toolbar - the row of icons below the menus - can be altered to suit the tasks you do most frequently. You can choose from a list of icons those that you wish to appear.
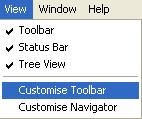
Click on 'Customise Toolbar' in the 'View' menu.
This will bring up a list from which you can select the icons you require. Please note that all the existing icons will disappear so you must also choose these if you wish them to remain on the toolbar.
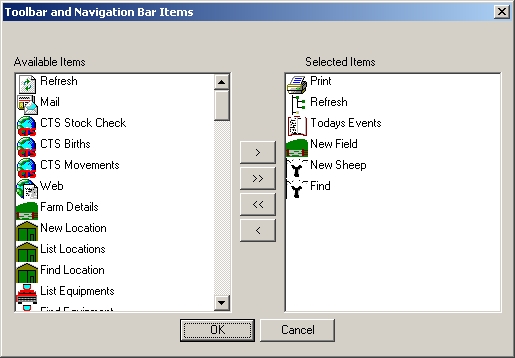
Select the items you wish to see by clicking on them in the right hand list. Use the arrows > to move the required items across from the right to the left. Click the double arrow >> to move all the items. To remove an items from the selected list click on the item and click the < arrow.
Click OK
You will need to close down the program and open it again to see the changes take effect. There is currently no way to reset the toolbar to those items which it uses by default when you first install the program.